Editorial staff
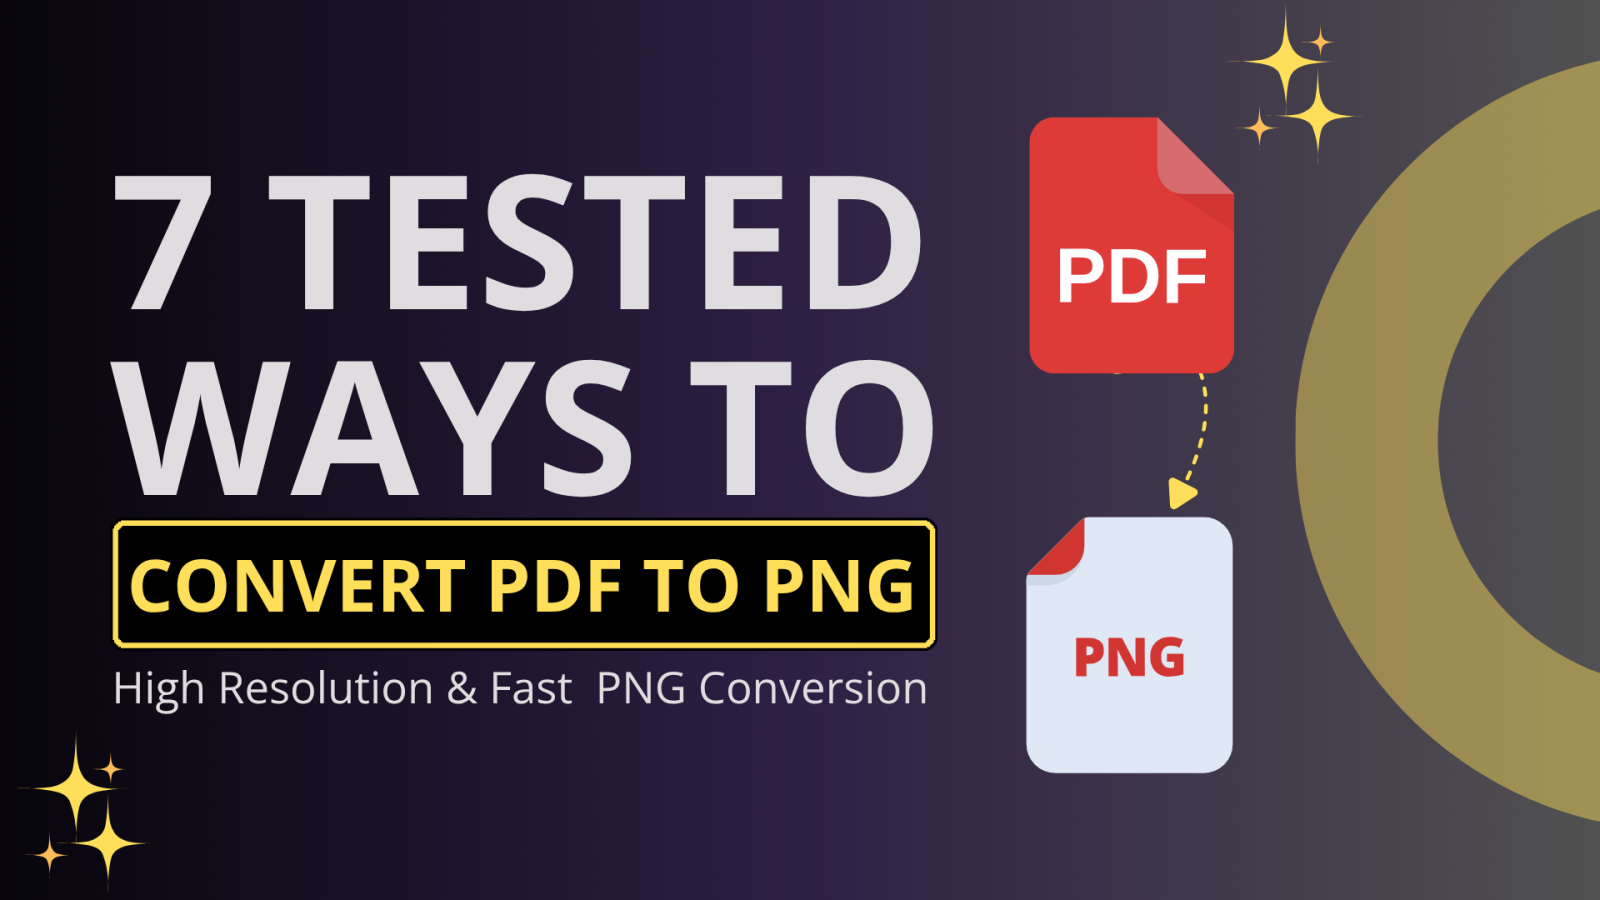
I ran the three sample files (a 200-page contract, a textbook PDF , and a brochure) through seven approaches using my personal laptop. Here’s what truly works when you desperately need to convert PDF to PNG without losing quality.
1. Using Online High-DPI Converters (Fastest for Everyday Use)
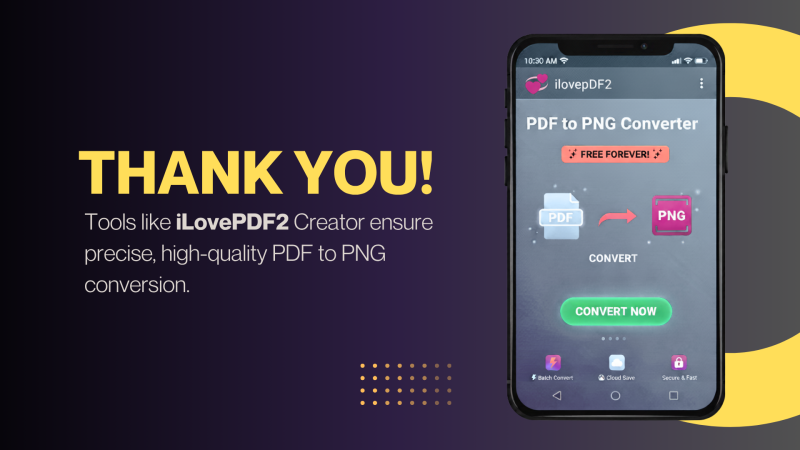
The simplest route is a web-based tool that lets you control DPI and compression. Most “free” sites quietly shrink files, but a few don’t. iLovePDF2 tops this category: it offers both normal and pdf to png high resolution mode, handles multipage uploads, and processes big files in under three minutes. My test brochure came out tack-sharp even at zoom level 400%.
FreeConvert and PDF2PNG.com also perform decently. FreeConvert lets you specify up to 600 DPI; PDF2PNG caps around 600 but batches twenty PDFs at once. None add watermarks. For web work or class assignments, these are perfect high resolution PDF image converter options.
Pros: No installation, quick, free.
Cons: Internet-dependent; not all keep full DPI.
2. Converting with Desktop Editors (When Quality Is Non-Negotiable)
For the best pdf to png sharper images, desktop software still wins. Adobe Acrobat Pro and PDF24 Creator both allow you to choose export quality and color depth. Acrobat’s “PNG-24 at 600 DPI” setting delivered the cleanest lines and gradients in my engineering diagrams. PDF24, free for Windows, matched it closely and pushed even higher- up to 1200 DPI.
Because these programs process files locally, you avoid upload compression entirely. That’s how you truly improve PDF to PNG quality for print-ready graphics.
Pros: Full control, offline privacy, highest clarity.
Cons: Slower; Acrobat requires a subscription.
3. Command-Line Conversion (Ghostscript / Poppler)
For developers or data teams, nothing beats raw control. Running
gs -sDEVICE=png16m -r600 -o out.png in.pdf
with Ghostscript or
pdftoppm -png -r600 file.pdf out
with Poppler yields precise pdf to png high resolution exports (at 600 dpi) - no interface, no hidden compression. My textbook test file kept every footnote legible, even at microscopic zoom.
Pros: Unlimited files, lossless output, free forever.
Cons: Terminal-based, learning curve steep.
4. Using Built-In OS Tools and Virtual Printers
Windows and macOS can fake a high-res conversion through their “Print to Image” drivers. In Windows, set the Microsoft Print to PDF as a virtual printer & open the resulting file in Paint or Photos to export as PNG.
On macOS, the Preview app’s Export → PNG → 600 DPI option is surprisingly crisp. It’s not perfect but for quick office work, it beats uploading confidential files online.
Pros: Already installed; safe for private docs.
Cons: Limited DPI control; color shifts possible.
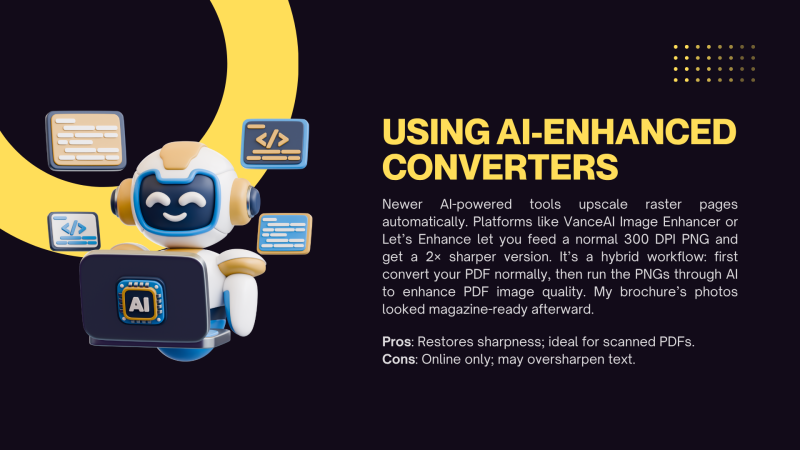
5. Using AI-Enhanced Converters
Newer AI-powered tools upscale raster pages automatically. Platforms like VanceAI Image Enhancer or Let’s Enhance let you feed a normal 300 DPI PNG and get a 2× sharper version. It’s a hybrid workflow: first convert your PDF normally, then run the PNGs through AI to enhance PDF image quality. My brochure’s photos looked magazine-ready afterward.
Pros: Restores sharpness; ideal for scanned PDFs.
Cons: Online only; may oversharpen text.
6. Re-Exporting from Design or Document Software
If your PDF originated in tools like Illustrator, Canva, or InDesign, you already hold the key to perfect clarity. Instead of converting later, export directly to PNG from the source file. Design apps retain full vector data until export, meaning you can choose 600 DPI or higher and get razor edges without compression.
For example, exporting the same brochure directly from Illustrator at 600 DPI yielded identical clarity to a Ghostscript conversion- minus the command line hassle. Canva (Pro tier) also lets you set high-resolution PNG exports, though it can slightly alter text spacing.
This direct method is the truest form of convert PDF to PNG without losing quality, since no conversion tool is interpreting your vectors for you.
Pros: Perfect vector fidelity; customizable DPI.
Cons: Requires access to the source file; not for scanned PDFs.
7. Batch Automation for Power Users
If you routinely handle hundreds of PDFs, automation saves your sanity. Tools like ImageMagick or Python’s pdf2image library let you script entire folders into pdf to png high resolution batches. With commands like:
convert -density 600 input.pdf output.png
you can automate pdf to png 600 dpi conversions across multiple files overnight.
In my test, ImageMagick matched Ghostscript’s clarity but was faster on multi-core machines. Paired with cloud folders, it’s a powerhouse for research groups or digital archives.
Pros: Infinite scalability; precise DPI control.
Cons: Technical setup; heavy on CPU for large batches.
Test Case Results
To keep results consistent, I ran the same three PDFs (mentioned in the intro) by trying all these seven ways, using a standard workstation (Intel i7 32 GB RAM, 1 Gbps connection). Here’s the summary log:
| Method | 200-page Contract | Textbook PDF (fine footnotes) | Graphic-Heavy Brochure | Remarks |
| Online High-DPI (iLovePDF2) | Passed (3 min, sharp) | Passed (clean text) | Passed (color-true) | Best balance of speed and quality |
| Desktop Editors (Acrobat, PDF24) | Passed (highest clarity) | Passed | Passed | Ideal for offline professionals |
| Command-Line (Ghostscript/Poppler) | Passed (lossless) | Passed | Neutral (slower on large files) | Unmatched precision; slower runtime |
| OS Tools / Virtual Printer | Neutral (limited DPI) | Neutral | Neutral | Handy for quick office jobs |
| AI Enhancers | Passed (restored clarity) | Neutral (text oversharpened) | Passed | Great post-processing add-on |
| Design Software Export | Passed (identical to vector) | Passed | Passed | Best if you control the source file |
| Batch Automation (ImageMagick) | Passed | Passed | Neutral (high CPU load) | Perfect for large-scale workflows |
What Works Best?
When the dust settled, only three approaches consistently produced pdf to png sharper images with true high-resolution output:
‣ I Love PDF 2 (Online High-DPI Mode) – Easiest and most reliable high resolution PDF image converter; handles batch files, multipage PDFs, and maintains both text and color fidelity.
‣ PDF24 Creator (Desktop) – Free, 1200 DPI support, excellent for private or offline conversions.-.
‣ Ghostscript / ImageMagick (Command-Line) – Best for professionals automating large-scale archives; delivers the best quality PDF to PNG if configured properly.
AI upscalers and design re-exports serve as enhancers, not replacements. OS printing and free low-DPI tools remain “good enough” but not crystal-clear.
Conclusion
Getting a pdf to png high resolution result isn’t about luck - it’s about the method. Online converters like iLovePDF 2 now rival professional software by giving you control over pdf to png dpi settings and true lossless exports. Desktop editors such as PDF24 Creator still dominate for heavy workflows, while command-line tools give technicians surgical precision.
If your goal is to enhance PDF image quality, pick the method that matches your context:
- Online tools for convenience,
- Desktop tools for privacy and control,
- Command-line or automated workflows for volume.
Follow these seven methods and you’ll finally have PNGs that stay readable, crisp and ready for any screen or print job-proof that converting PDFs doesn’t have to mean losing clarity.
 Editorial staff