Editorial staff
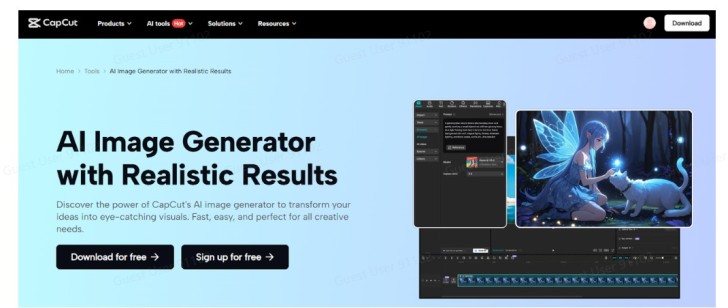
Most notable in this way is the image generator powered by AI that gives you a chance to create a unique image based on what you want to post. Together with the intuitive editing features on CapCut, you can create professional, easily understandable, and shareable animated explainer videos.
Why Use AI for Explainer Videos?
Historically, designers, animators, and a lot of time were needed to create explainer videos. However, with artificial intelligence-driven tools, you can accelerate the process and decrease the costs. Intelligent Artificial Intelligence aspects of CapCut allow you to create custom imagery, characters, and backgrounds within seconds.And on top of that, you are able to add a realistic presenter to read through your content using a tool such as the AI avatar, which makes your transcript video more engaging.
Key Elements of an Animated Explainer Video
I recommend understanding what makes Explainer Videos effective before going into the steps:
- Clear message: Only include one main point in a video.
- Engaging visuals: Computer-generated graphics should be used that are suitable for your brand or topic.
- Strong narration: Save yourself the trouble, do it as text-to-speech to be clear.
- Brand identity: Add logos, fonts, and colours.
- Concise flow: You want to be very short in your video--usually 60-90 seconds is a good length.
Getting Ready for the Editing Process
Before you open CapCut Desktop, gather your script or storyboard. This doesn’t need to be perfect, but having a clear outline will save you time during editing. Think of the flow: introduction, explanation, and conclusion.
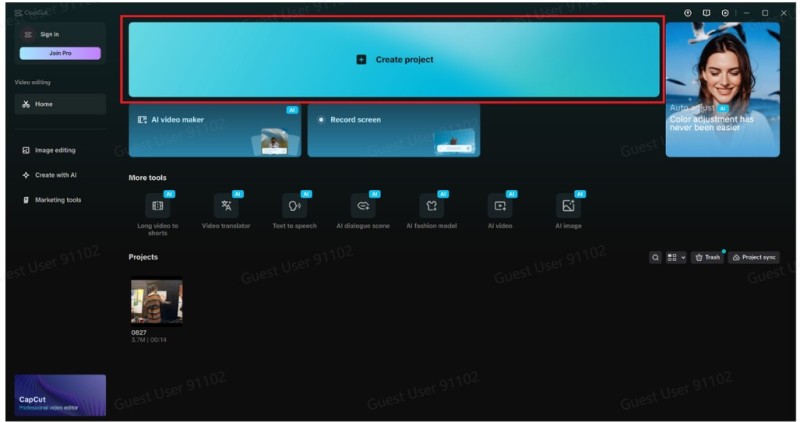
Step 1: Launch CapCut Desktop and Start a New Project
Open CapCut Desktop. On the Home screen, click New Project. Insert any starting media like background music, NOL files, or logos. They will be presented on the Media panel on the left.You are now at the workspace with the preview screen in the center and the timeline at the bottom.
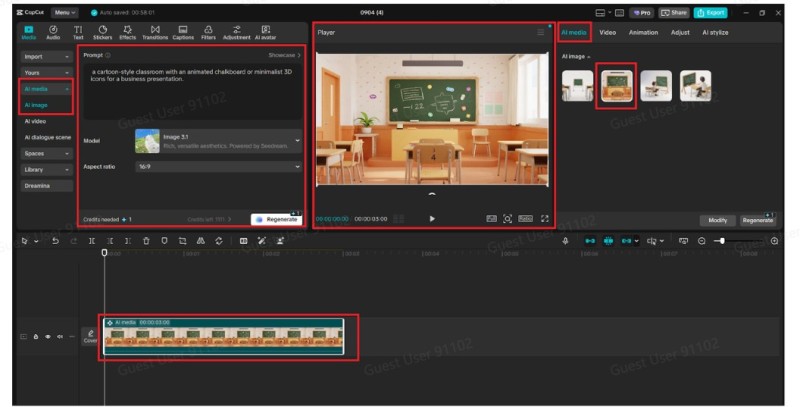
Step 2: Generate Visuals with AI Image Generator
This could be done by clicking AI media on the left panel and selecting the AI image. Description that fits your own script, like a cartoon-style classroom with an animated chalkboard or minimalist 3D icons for a business presentation.Click what you want to generate and just wait. You can choose the images that suit your narrative and add them to the project. These will now be located in your Media library and can be inserted into the timeline.
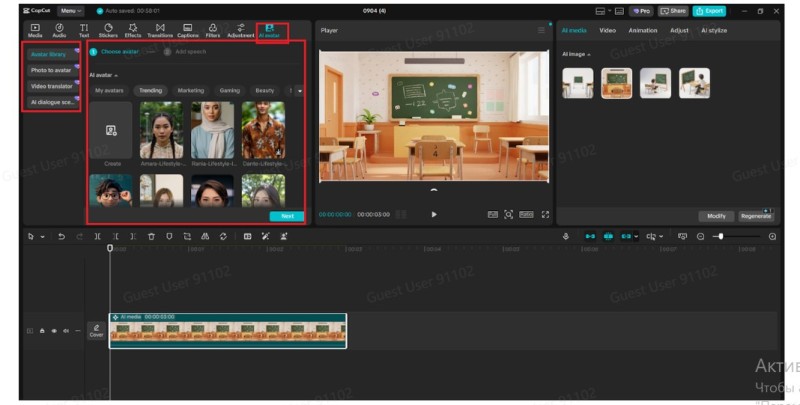
Step 3: Add an AI Avatar or Narration
To have a virtual presenter, return to AI tools and choose the AI Avatar. Select a style of the avatars that fits the topic of the video. You can insert it afterwards (sync) with the uploaded audio or Text-to-Speech of CapCut.Should you want more of a classic explainer, just record your own voiceover or upload. Drop the audio track on the timeline and make sure it goes in sync with what you see.
Step 4: Animate and Enhance Your Video
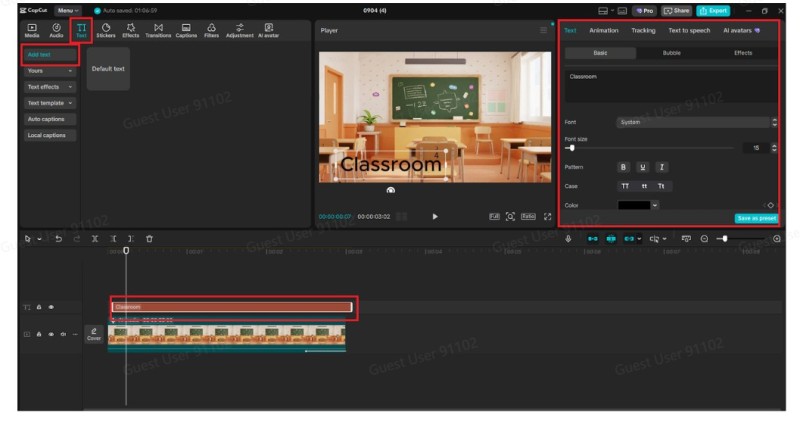
In order to ensure that your images are animated, you pick an image on the timeline and go to the tab titled Animation above the preview screen. Fade In, Slide Up, or Bounce will make your images look good.To add text, select the Text tab → Add text. Change fonts, colours, and animation to highlight important topics. To make scenes move between each other smoothly, you may also add Stickers or Transitions on the left toolbar.
Step 5: Export Your Explainer Video
Once other editing tools are finished, click the Export button on the right. Select your file name in the export window, the resolution (1080p is many times fine), and your output format (MP4 is the most common choice).Select Export once more, and your video will be saved to your PC, where you can upload it to YouTube, social media, or your site.

Extra Tips for Professional Explainer Videos
Keep pacing in mind: Do not give too much information; allow the viewers time to process important ideas.Use subtitles: Provide captions to be more accessible and to help accommodate a global audience.Add music: This can enhance interest, and the background music should be low compared to narration.Test with viewers: Have others (colleagues, friends) test drafts with them before publishing.
Final Thoughts
Mythbusters no longer takes a large team of producers and skills to make explainer videos. The AI image generator of CapCut Desktop helps you create an image that suits your message best, whereas the AI avatar feature allows you to use characters that sound and look realistic.With a few elementary guidelines to follow, following the steps necessary to launch a project through to exporting the final video, you can turn plain scripts into eye-catching and appealing animated explainers. Professional storytelling is affordable and easy to accomplish by businesses, educators, and creators alike.
 Editorial staff